
Last Updated on October 20, 2022 by acechapman
It is not a good idea when painting in the toilet, let alone painting behind the toilet. You can’t maneuver in this tight area to paint in a comfortable way.
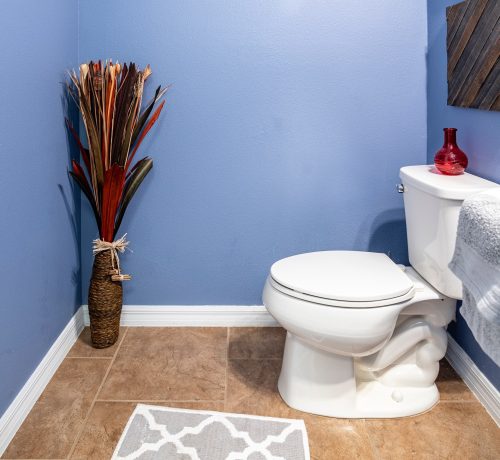
It’s not easy to paint in a bathroom. Bathrooms are often cramped spaces. You will need to be able to reach the brush and lean over the toilet at one point or another during the project, especially if you have corner toilets.
It’s enough to paint the toilet behind, and not take out the tank. You probably already know what I mean if you have tried this DIY project as a homeowner.
Before painting behind the toilet
You can cover the toilet with a bag or cloth and then place a towel on the floor. If you need to paint your entire bathroom or the wall behind your toilet, this is a must. Make sure that you have the correct primer and paint before you start the project.
Bathrooms are subject to high humidity so it is important that you choose the best paint. Paint with anti-microbial additives such as Benjamin Moore and other top brands is worth considering. Paints with high-gloss and semi-gloss sheens are also an option. They help to prevent moisture from getting into the paints. Consider purchasing a primer of high quality that won’t crack or cause water damage.
Materials that you will need:
- Use a drop cloth
- Use a tack cloth
- Bag for heavy-duty garbage
- 1.5″ Painter’s tape
- 16” mini paint roller
- 4” roller pad
- Angeled 1″ paintbrush
- Small detail brush
Three Methods to Paint Behind the Toilet
- Use a mini roller
- Stick and Rag Method
- You can remove the tank
Mini Roller for Painting
To paint behind the toilet, the mini roller is your best choice. This tool is easy to use and can be used by beginners.
Mini rollers typically have a 16-inch neck and a 1-1/4 inch wide roller pad.
You can paint behind the toilet with a 4” roll pad.
This roller is small so you don’t need to buy a separate tray. The same tray can also be used with the larger 9-inch roller.
You can use KingOrigin and the Linzer RM4110 liner for the tray. It is both disposable and environmentally friendly.
Mini rollers are easy to use and can be used to paint as soon as you get out of the bathroom.

Always clean up after painting
After you have finished painting behind the toilet, remove the blue tape from the trim and each side of your water tank.
Check around to make sure there is no paint on the toilet. Clean it immediately if there is any paint. Paint won’t stick to your toilet because it’s porcelain.
Stick and Rag Method
Although the mini roller method of painting behind a toilet works well, it is not ideal for every situation. It’s helpful to have another option.
You will need to find a way to maneuver around a toilet tank that is less than an inch from the wall.
In this situation, homeowners and painters should cover the tank of toilet with a heavy-duty bag. The bag should completely cover the tank and the space behind it. Tape the bag to secure it.
Next, grab a thin piece of wood, or a painting tool, such as the one Jimmy Sponge Stix uses. Wrap a piece of stick or wood with a rag. You should paint one side of the rag. Dip it in your tray or use your brush to paint it.
Slide the stick back and forth between the wall & your water tank. Continue this process until you are satisfied with the wall.
The process is slow and will not give your paint job the perfect look. It may be the best thing you can do in a small space.
If this fails, you can try our third and final method.
Remove the water tank to paint behind your toilet
We mentioned earlier that we do not want to use this method. It may not always be possible.
Remove the water tank to gain full access to the wall (but not the entire toilet).
If you do not need to completely remove the toilet, only follow this option. Sometimes the water tank won’t separate from your bowl. This method will not work if this is the case.
Turn off the water supply to the tank before you take it out. Locate the valve located on the wall just behind the toilet to do this. To empty the water tank, flush the toilet one time.
Finally, unscrew the attached water line from the tank. This is usually located in the lower-left corner of the tank.
Remove The Bolts Of The Toilet Tank
Most water tanks can be attached to the bowl of the toilet with two bolts or nuts. However, wall-mounted toilets may require a different attachment. These are located on both sides of the water tank, which is what holds it in place.
Next, remove the bolts from the nuts. Next, slowly lift the tank and place it somewhere dry.
Paint the wall behind your toilet. It should now be very simple. Even if you have the bowl still in place, it is important that you have sufficient clearance.
Once the paint has dried, you can simply place the water tank on the bowl and attach the bolts to the holes.
Screw the bolts back into the bolts to tighten the tank. Then, turn the water on again and reconnect the hose. To ensure that the toilet works as it should, flush the tank one more time.
Wrapping Up
You don’t have to worry about getting the perfect finish behind your toilet. Most people will not see behind your toilet or the space behind it.
We are certain you will be proud of your stellar results by using the tips we have provided.
Pick A Toilet may collect a share of sales or other compensation from the links on this page.


